


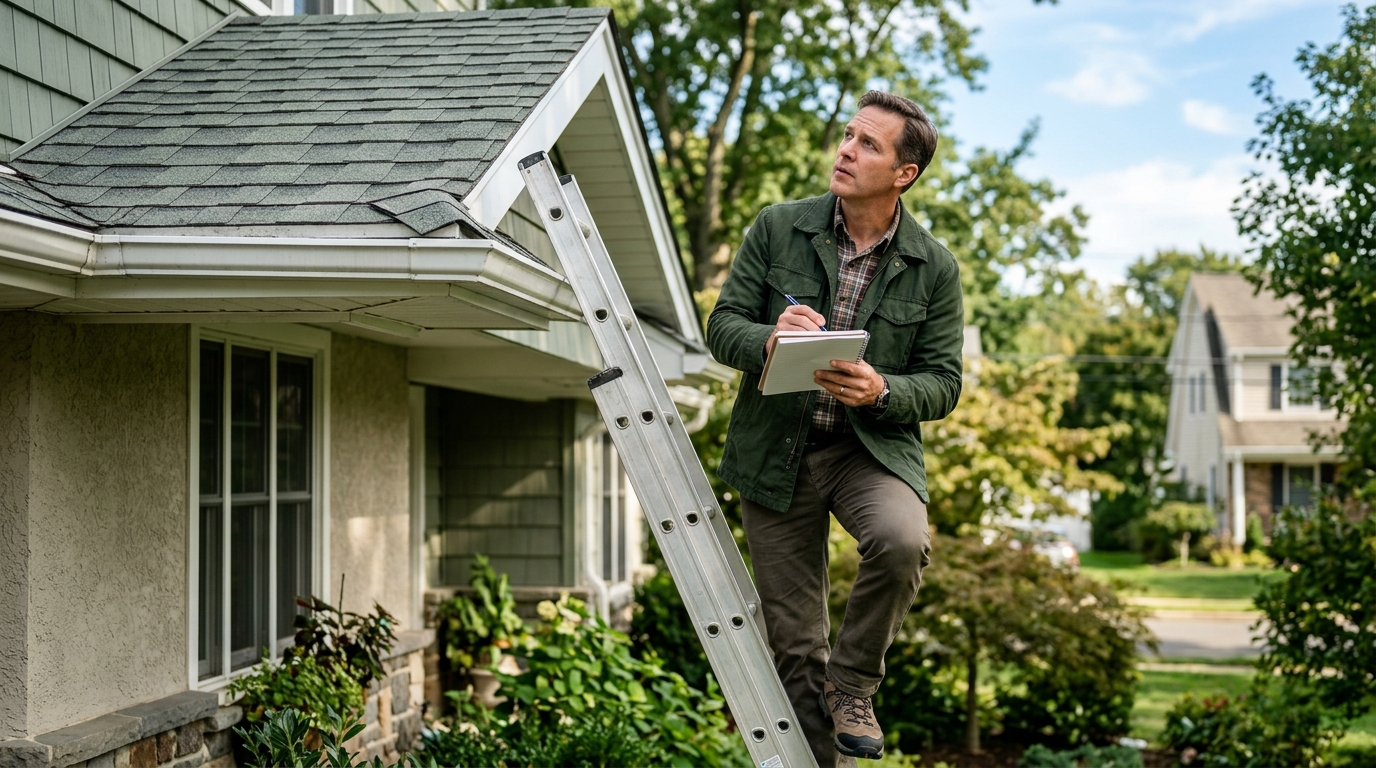
Rising electric bills have you eyeing rooftop solar and wondering, “can you install your own solar panels” and skip the contractor markup? It’s a fair question. But DIY solar involves permitting, interconnection rules, and safety codes that trip up even handy homeowners. Before you buy a single panel, there’s a smarter first move. This guide walks through what a realistic solar timeline looks like in 2026, starting with the home energy audit that tells you how much system you actually need.
Can You Install Your Own Solar Panels? What to Know Before You Start
DIY vs. Professional Installation: Who Should Consider It
Yes, you can buy a DIY solar kit right now. It’s legal in most towns, and plenty of homeowners do it. But the kit is only part of the job. Whether it actually works depends on your roof’s angle and shading, your comfort with electrical wiring, and how your municipality handles permitting. Skip any of that homework and you’ll end up with panels that underperform, or an inspector who won’t sign off.
Going the DIY route saves real money on labor, sometimes thousands of dollars. But that savings comes with a trade: you’re now responsible for the system’s design, its code compliance, and the safety of anyone working on your roof. A licensed installer carries that risk for you. When you self-install, mistakes in wiring or mounting aren’t just inconvenient — they can void warranties or cause fire hazards. That’s a real trade-off, not a footnote.
DIY tends to work best for simple projects: a ground-mount array in the backyard, a shed system, or a small off-grid setup for a cabin or RV. Full-home, grid-tied systems involve utility interconnection agreements, inverter programming, and inspections that trip up even handy homeowners. Before buying anything, it’s worth reading an honest breakdown of whether solar panels are worth the investment for your specific situation, since the math changes a lot depending on your roof and usage.
Here’s the part people skip: shrinking your home’s energy load first makes any solar project smaller, cheaper, and far easier to pull off. Swap out an old fridge, seal drafty windows with caulking and weatherstripping, and add attic insulation, and you may need a noticeably smaller array to cover your usage. Fewer panels means fewer mounting points, less wiring, and a shorter afternoon on the roof. It’s the cheapest step in the whole process. Most people never bother.
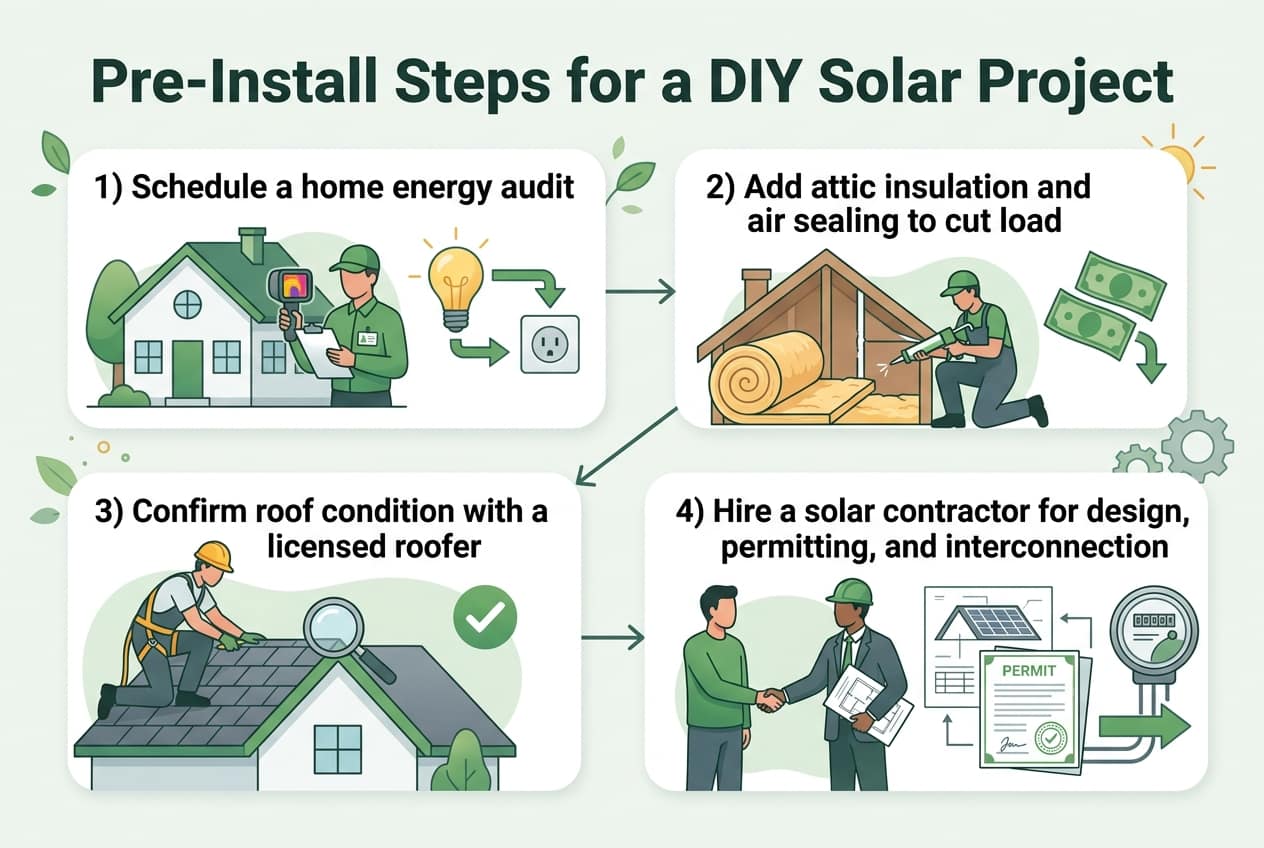
Start With an Energy Audit Before You Buy a Solar Kit
Why Load Reduction Comes Before Panel Count
Here’s a mistake a lot of DIYers make: they guess at panel count using a rough monthly bill, then buy a kit sized for a house that doesn’t exist anymore. Your actual usage today may not reflect what it could be after some cheap fixes. Size later, not first — order the audit before you order anything else. An audit gives you real numbers: kilowatt-hours consumed, where they’re going, and which loads are wasteful versus necessary.
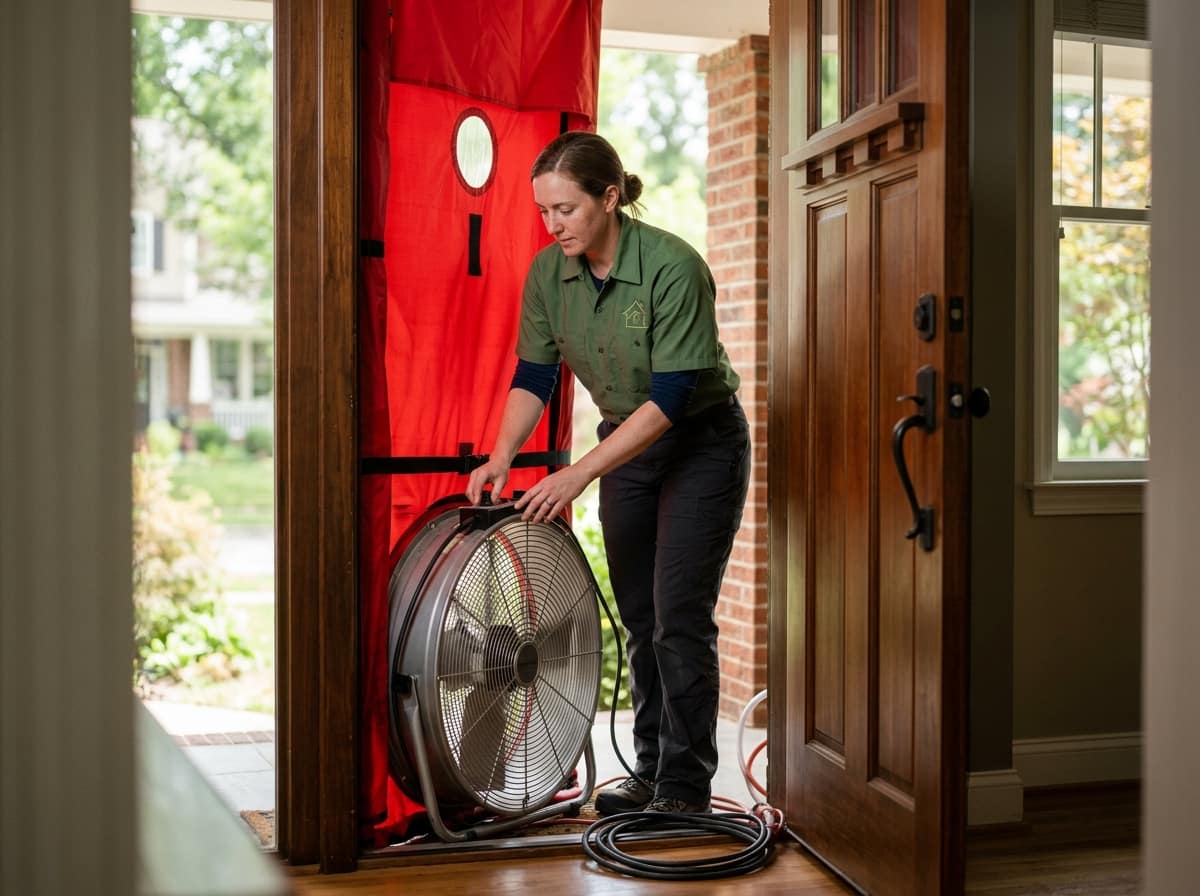
A proper home energy audit finds drafts around doors, thin or settled attic insulation, and appliances quietly running up your baseline draw. These are the hidden costs that inflate your usage before a single panel goes on the roof. Fixing them first changes your whole system size. That’s not a minor detail — it’s the difference between a $9,000 solar kit and a $14,000 one.
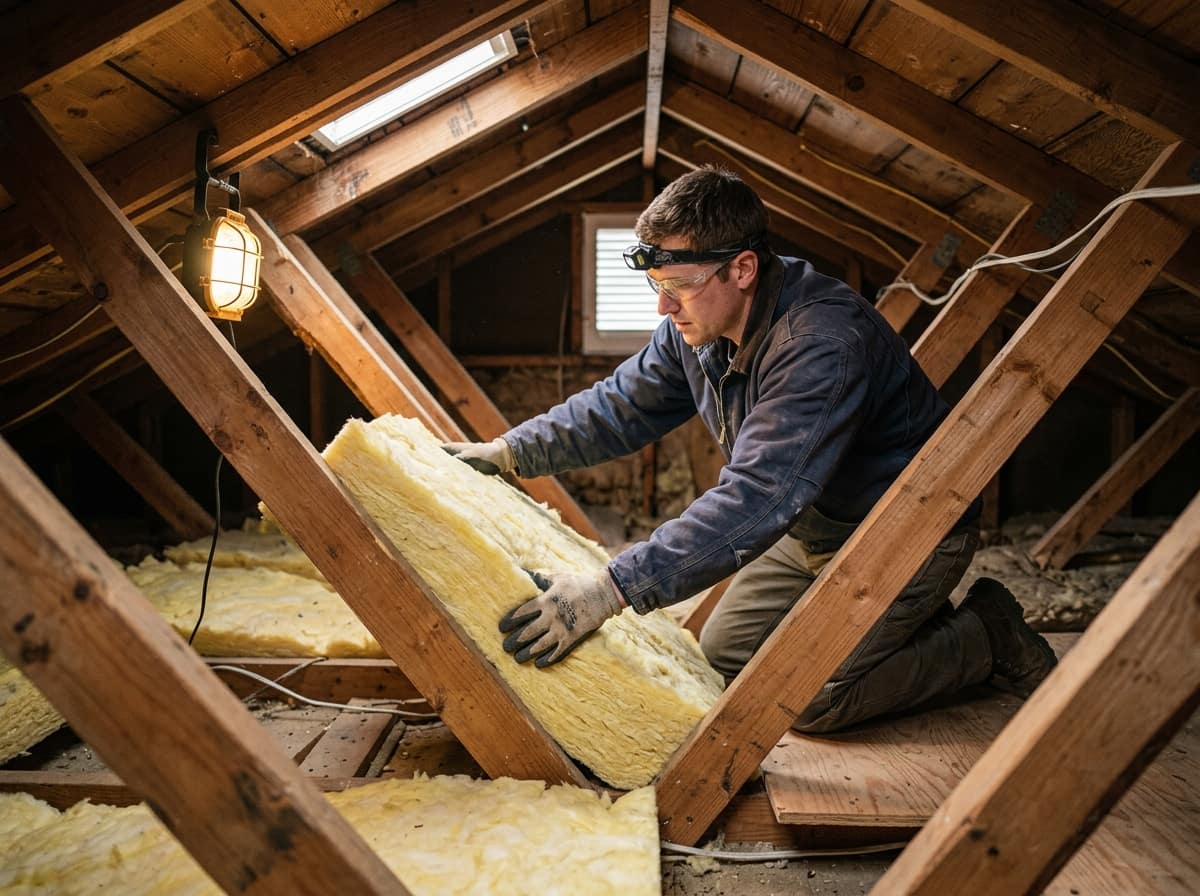
Sealing gaps with caulking and weatherstripping, plus adding attic insulation where it’s thin, can meaningfully cut heating and cooling load. Some homes see double-digit percentage drops in energy use from air sealing alone. Less load means fewer panels, a smaller inverter, and a payback period that arrives years sooner. For anyone weighing the full scope of a rooftop project, a solar panel installation nj guide is a reasonable place to start mapping out what comes after the audit. Solar design, permitting, and grid interconnection are specialized trades, best left to licensed contractors. Tightening up your home’s envelope, though, is something you can arrange now, before you spend a dollar on panels.
Pre-Install Steps: Planning Your DIY Solar Project
Before any panel touches your roof, you need real numbers. Pull twelve months of utility bills and find your average daily and monthly kWh usage, not just the total dollar amount. Old appliances or drafty rooms will inflate that number, which is why tightening up the house first actually changes how big a system you need. Looking into projects to improve energy efficiency before you shop for panels can shrink your target system size. And a smaller system costs less no matter who installs it.
Next, look hard at your roof. You need the angle, compass orientation, shading from trees or chimneys, and the condition of the decking underneath. A 20-year-old roof due for replacement is not a candidate for panels yet. No good roof? A ground mount is a legitimate backup, though it needs more wiring and a clear, unshaded patch of yard.
Choosing the Right Kit Size
Match the kit to your post-efficiency load, not your current bill. Buying too big wastes money; too small leaves you still writing checks to the utility. A few things to settle before you order anything:
- Confirm your adjusted daily kWh need after any efficiency upgrades, then size the kit with a small buffer for cloudy days and future usage growth.
- Compare monocrystalline versus polycrystalline panel kits, since efficiency per square foot matters more on tight roofs than on wide ground-mount arrays.
- Check whether the kit includes microinverters or a single string inverter, because that choice affects performance under partial shading.
- Decide whether you’re buying the system outright, financing it through a loan, or considering a lease, since leased systems limit your ability to do true DIY work.
- Factor in battery storage now if backup power matters to you, even if you add batteries later, since some kits aren’t built for easy expansion.
Permits and Inspections You Cannot Skip
This is the part DIYers underestimate. Nearly every New Jersey municipality requires an electrical permit and a building permit before you mount a single rail. Skipping them can void your homeowner’s insurance or force a costly teardown later. Call your local building department early, ask what drawings they need, and budget real time for plan review — it’s rarely fast.
Safety gear isn’t optional either. Rooftop work means a fall-arrest harness, gloves rated for electrical work, insulated tools, and a hard hat, every time you’re up there. Skip the gear once, and you’re one slip away from a very bad afternoon. Some homeowners also review general privacy policy details before submitting personal information through online permit portals or kit retailer accounts, which is a reasonable habit given how much paperwork this process generates.
Tools and Materials You’ll Need Beyond the Kit
Here’s the part the marketing photos never show you: most kits ship as panels, rails, and a few clamps. That’s it. You’re still sourcing mounting lag bolts sized for your rafters, flashing to keep water out where bolts pierce the roof, conduit to run wiring safely, and wire connectors matched to your specific setup. Skip any of these and you’re not saving money — you’re building a leak. Before you buy anything, it’s worth understanding whether solar actually beats your current electric costs once these extras get added to the budget.
The other gaps trip people up because they’re easy to forget: a junction box, a breaker sized correctly for your main panel, grounding equipment, and a stash of extra MC4 connectors for when the first crimp doesn’t hold. None of this is optional. As for big-ticket tools — a calibrated torque wrench, a fall-protection harness, roof jacks — renting almost always beats buying. You’ll use them for a weekend, maybe two. Owning them outright rarely pencils out unless you’re doing this for a living.
Your inverter and battery choice changes this list more than people expect. A string inverter needs different wiring hardware than microinverters attached to each panel, and adding battery storage means additional disconnects, conduit runs, and often a subpanel. Get that decision wrong and you’ll be back at the hardware store twice. If any of this feels beyond your scope, that’s a fair place to stop and call in help — reach out through the contacts page to talk through what your home actually needs first.
DIY Solar Installation: Step-by-Step Process
Once your permits and equipment are sorted, the physical build follows a strict order. Skip a step or rush the torque spec, and you’re not just risking a warranty claim — you’re risking a roof leak or a fire. Here’s the sequence, laid out plainly.
| Step | What Happens | Why Order Matters |
|---|---|---|
| 1. Racking | Anchor rails to rafters (roof) or footings (ground mount), sealed with flashing | A loose or unsealed mount undermines everything installed on top of it |
| 2. Inverter | Mount and wire in a ventilated, accessible spot — garage or exterior wall | Needs to be placed before panel wiring runs are measured and cut |
| 3. Panels | Attach to racking, torque bolts to manufacturer spec (often 20-25 ft-lbs) | Under-torqued panels shift in wind; over-torqued ones crack the frame |
| 4. Battery | Install storage unit if system is off-grid or hybrid | Must connect to a properly grounded inverter, not the other way around |
| 5. Wiring & main panel tie-in | Connect panels, inverter, battery, then land the circuit at the main panel | Final grounding and bonding depend on every prior connection being sealed |
Racking comes first because it’s the foundation for every torque spec that follows. Rafter mounts need lag bolts sunk into structural wood, not just decking. Miss the rafter and you’ve built a leak point. Ground footings need to sit below the frost line, which in New Jersey means roughly 36 inches. Panels get attached next, and torque matters more than people expect; a cracked frame from over-tightening won’t show up until a storm tests it. The inverter — string, micro, or hybrid — should already be wired before that point, since it dictates how panel circuits get routed. Battery storage, if you’re going hybrid or off-grid, ties in after the inverter is confirmed grounded. If you’re still weighing whether your roof and load even justify this build-out, comparing options through a solar panel service near me pine brook search is a reasonable gut-check before you commit a weekend to it. Every connection downstream depends on the one before it being done right. That’s not a suggestion. It’s physics.
DIY Solar Costs, Timeline, and Difficulty Compared to Hiring a Pro
Cost Breakdown: DIY vs. Professional Install
Let’s talk numbers, because that’s really what this decision comes down to. A DIY kit looks cheaper on paper, and it usually is, upfront. But you’re trading dollars for hours: expect somewhere between 20 and 40+ hours spread across several weekends, plus a learning curve if you’ve never worked on a roof before. A professional crew costs more per watt, but that price tag includes design work, permit filing, and a workmanship warranty that actually protects you if something fails down the road.
| Factor | DIY Install | Professional Install |
|---|---|---|
| Upfront hardware cost | Lower (kit price only) | Higher (includes labor markup) |
| Labor time | 20-40+ hours, self-scheduled | 1-3 days, crew-scheduled |
| Permitting & inspection help | You handle it yourself | Usually included |
| Workmanship warranty | None, typically | Often 10+ years |
| Insurance / financing fit | Can complicate both | Standard, pre-approved paths |
Here’s the part people skip past: a bad wiring job or a sloppy roof penetration isn’t just an inconvenience. It can cause leaks, create a fire risk, or fail inspection outright — and any of those can wipe out whatever you saved on labor. Insurance carriers and lenders also look at self-installed systems differently; some require extra documentation or a licensed sign-off before financing or coverage applies. Before you commit either way, it’s worth reviewing what ongoing upkeep looks like, since understanding solar energy maintenance costs over the system’s lifetime often changes how the initial savings actually stack up. Cheap now doesn’t always mean cheap later.
Post-Install Steps: Inspection, Interconnection, and Ongoing Care
Panels on the roof doesn’t mean you’re done. Before you flip anything on, your town’s electrical inspector, and often a separate solar or fire inspector, need to sign off on the wiring, grounding, and rapid-shutdown setup. Skip this and you risk fines, an insurance headache, or a utility that simply refuses to connect you. Book the inspection as soon as the physical install wraps. Schedules run two to three weeks out in busy seasons, and an unpermitted system sitting idle costs you money every sunny day it isn’t producing.
Once inspected, you’ll file interconnection paperwork with your utility to enable net metering, the arrangement that credits you for excess power sent back to the grid. This usually means submitting your permit, inspection approval, and equipment specs, then waiting for a new bidirectional meter. PSE&G and JCP&L timelines vary, but plan on two to six weeks. Don’t energize the system before you get written permission to operate — doing so can void warranties and delay your credits.
When to Call a Licensed Professional Instead
Set up production monitoring right away, whether through your inverter’s app or a separate system like Enphase Enlighten or SolarEdge monitoring. This is how you catch a tripped breaker, a shaded string, or a failing microinverter before it quietly costs you months of lost output. Check it weekly at first, then monthly once you trust it. A panel producing 20% less than its neighbors for two straight weeks is telling you something’s wrong.
Seasonal maintenance matters more than most first-time owners expect. Clean pollen and debris off panels each spring, check connections and conduit for wear after winter storms, and run a basic inverter diagnostic twice a year. If you find corrosion, a tripped disconnect that won’t reset, or an inverter throwing error codes you can’t clear, that’s your cue to call a licensed solar technician or electrician. This is exactly where DIY should stop. Rooftop electrical work with live DC current isn’t a place to guess.
Finally, book a follow-up home energy assessment a few months after the system is live. It confirms your reduced household load actually lines up with what the panels produce, which matters because oversizing or undersizing a system by even 15% changes your payback math significantly. Pair that assessment with a look at energy saving tips for summer to squeeze more value from peak production months, when panels generate the most but air conditioning also pulls the hardest. It’s the same logic as auditing before you ever bought the kit. You’re just closing the loop now.
Is DIY Solar Right for Your Home? Final Considerations
So who should actually do this? Someone handy, with a simple roof, a realistic timeline, and patience for permit offices. That’s the honest profile. If you flinch at pulling permits or waiting six weeks for a utility to approve interconnection, DIY solar will grind you down. A steep roof, multiple dormers, or shading from trees complicates the math and the labor fast. None of that means solar is a bad idea. It just means knowing your limits matters more than knowing your tools.
Whatever path you take, one step pays off regardless: reducing what your home wastes before you add generation. Broader energy conservation work — insulation, air sealing, fixing drafts — shrinks your baseline load, which means a smaller, cheaper solar system can cover it. Skip that step and you’re sizing panels around waste instead of need. That’s an expensive mistake either way. A well-sealed attic and tightened envelope also protect your investment long-term, since less strain on heating and cooling means your system keeps pace with demand for years, not just the first winter.
Before you buy a single panel, get your true baseline load measured. A residential energy conservation specialist can run an audit, flag where you’re bleeding energy, and give you real numbers instead of guesses. From there, decide: install it yourself, hire it out, or hold off a season while you tighten the house first. All three are reasonable. Guessing your load isn’t.
Before signing on with anyone for a real estate inspection, it’s worth asking what you actually need answered: a structural, code, and transaction-grade report is a different job entirely from an efficiency-focused walkthrough, and mixing the two up can leave gaps at closing. An energy audit can tell you a lot about comfort and where a home wastes energy, but it was never meant to substitute for a licensed inspector’s sign-off. The company, efficiency of the process, and skilled team behind whichever assessment you choose matter less than making sure the scope actually matches the decision you’re about to make.
