


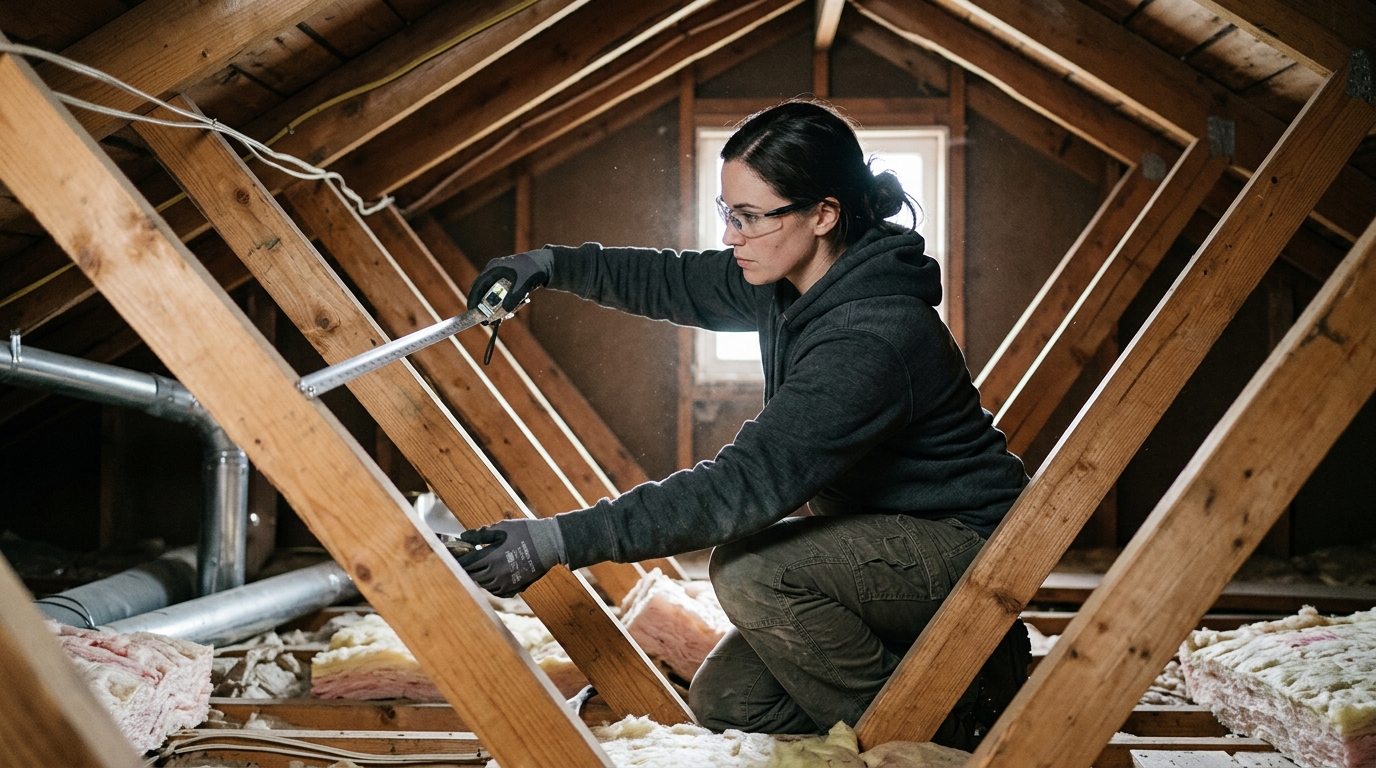
Drafty rooms and climbing energy bills usually trace back to gaps you can’t even see — until you know what to look for. The right insulation tools help you spot where heat is escaping and where your home’s defenses are thin. Not every fix means tearing into walls or calling in heavy equipment. This guide walks you through nine practical tools for 2026 that put real answers, and real savings, within reach.
What Are Insulation Tools and Why Homeowners Ask About Them
Why this matters before buying anything yourself
When people search for insulation tools, they’re rarely shopping out of curiosity. Something’s wrong. The upstairs bedroom never warms up. The gas bill jumped again. There’s a cold draft near the baseboards nobody can explain. The term itself covers a wide range of equipment — tape measures, insulation knives, thermal cameras, blowing machines, caulking guns. Each one measures, cuts, installs, or verifies insulation in its own way. Pros don’t grab one tool; they build a sequence, starting with measurement and ending with proof the fix actually worked.
That sequence matters more than any single gadget. A technician measures the attic, inspects the current material, checks for air leaks, and only then decides what gets installed and how. Skipping steps is how homeowners end up with insulation that looks fine but doesn’t perform — R-value on paper, drafts in reality. Reading about projects to improve energy efficiency is a good way to see how insulation work fits into a bigger plan rather than standing alone as an isolated fix.
Knowing the tools also helps you talk to whoever shows up at your door. If someone mentions a blower door test or a thermal scan, you’ll understand why, not just nod along.
What a professional assessment actually involves
A real assessment starts with questions, not equipment. How old is the house? What are the bills running? Where does it feel coldest in January? From there, a trained technician walks the attic with a flashlight and a tape measure, checking insulation depth against what your climate zone actually requires. Many homes have 4 inches where they need 14. That gap alone can explain a shockingly high heating bill.
Next comes verification — thermal imaging or a visual gap check to find where air is actually escaping, not just where insulation looks thin. This is the part DIY projects almost always skip. You can buy a roll of batt insulation at any hardware store, but without knowing where the real losses are happening, you’re guessing. A skilled team treats this like diagnostic work, not a shopping trip. That distinction is the whole reason the job gets done once instead of three times.
It’s also why many local businesses structure their process around an audit first, installation second — the tools only matter once you know where to point them.
Why a trained eye beats DIY guesswork
Here’s the blunt version: owning a tool doesn’t mean you know what it’s telling you. A rental-store thermal camera will show temperature differences on a wall, but reading those differences correctly — telling a missing stud’s insulation from a genuine air leak — takes experience most homeowners don’t have. Guess wrong, and you’ve patched the wrong spot while the real leak keeps draining your wallet.
There’s also the sequencing problem. Insulation installed over an undetected moisture issue or roof leak gets ruined fast, and most DIYers have no way to catch that beforehand. A trained technician checks conditions first, flags anything outside their scope — a roof leak, for instance, needs a roofer before insulation goes anywhere near it — and only then starts cutting and fitting material.
That’s the real argument for bringing in a professional team rather than a weekend rental. It’s not about the tools being complicated. It’s about knowing what the readings mean, something you can learn more about on an about us page describing how audit-first teams typically approach a home.
1. Tape Measures and Levels for Accurate Insulation Work
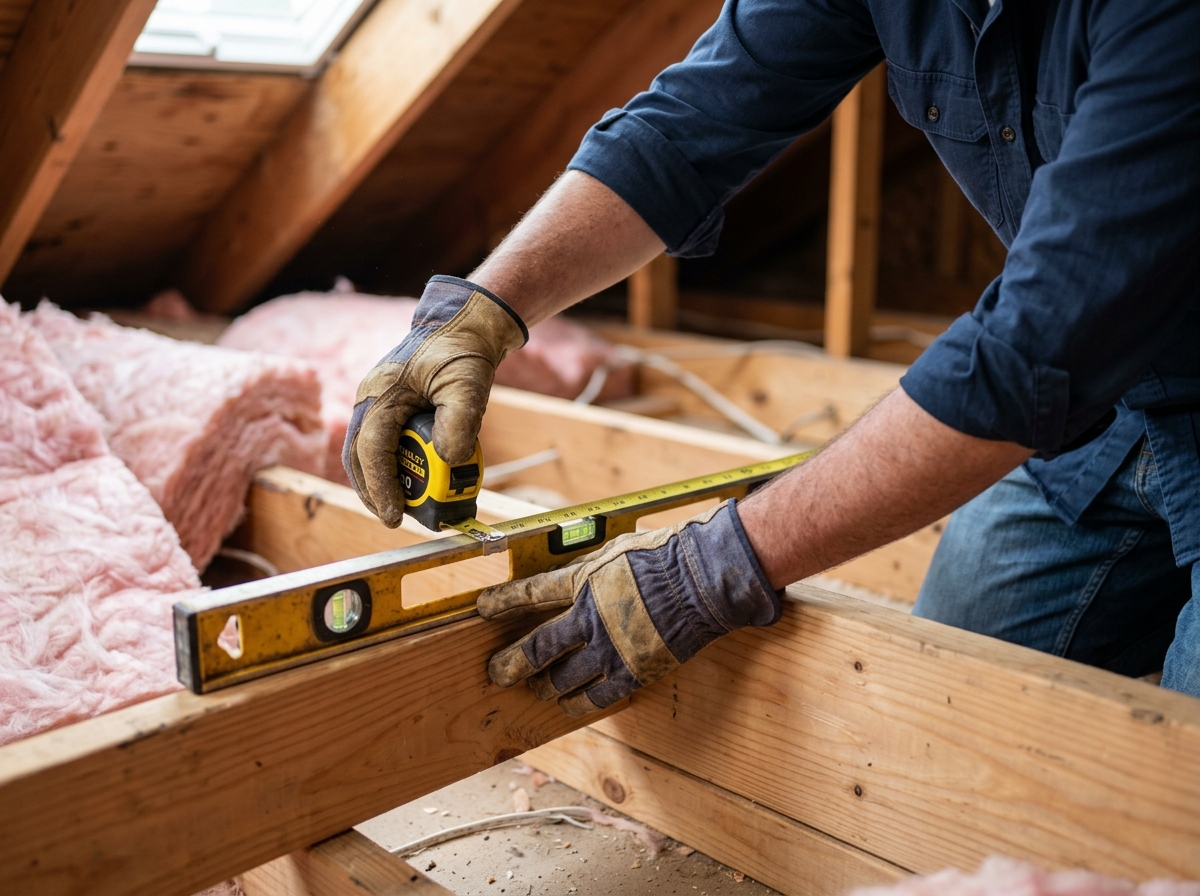
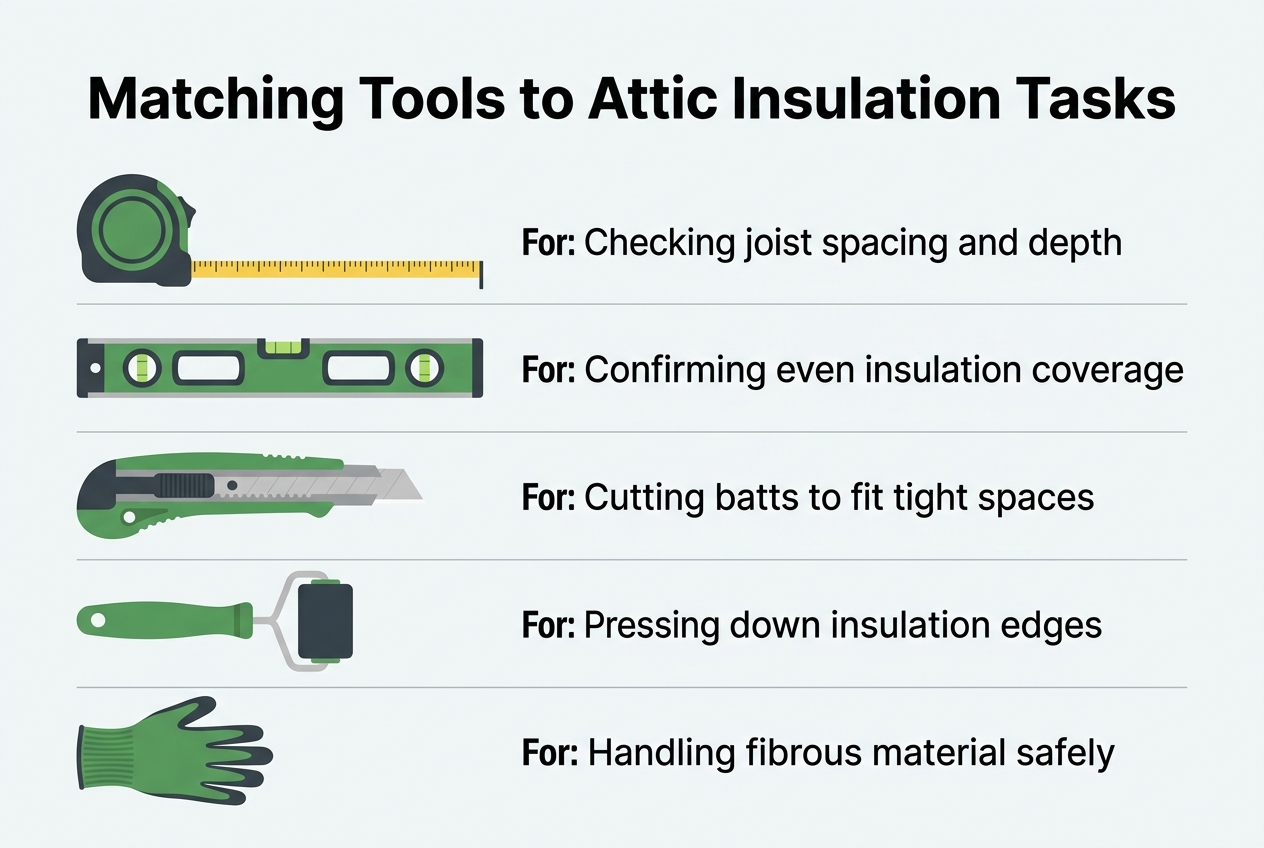
Before anything gets installed, you need numbers. A tape measure tells you attic square footage, joist spacing, and existing insulation depth — the three figures that decide how much material a job actually needs. Most attic joists sit 16 or 24 inches apart, and knowing that spacing before you buy batts saves you a second trip to the store. It sounds basic. It is basic. That’s exactly why skipping it causes so many problems later.
A level matters just as much, even though it gets less credit. Even coverage is the whole point of attic insulation — a sagging or lopsided layer leaves low spots that act like open windows in January. Laying a level across the joists after you’ve filled them shows you instantly where depth drops off. Many homeowners realize later that proper attic insulation depends as much on consistency as on total thickness.
Here’s the honest part: you don’t need fancy gear for this step. A $15 tape measure and a basic torpedo level will catch most problems a homeowner can act on. Thin spots near the eaves, compressed insulation under old boxes, uneven depth across the attic floor — all visible with tools you probably already own. Measure first. Guessing costs more in the long run.
2. Insulation Knives, Cutters, and Fitting Tools
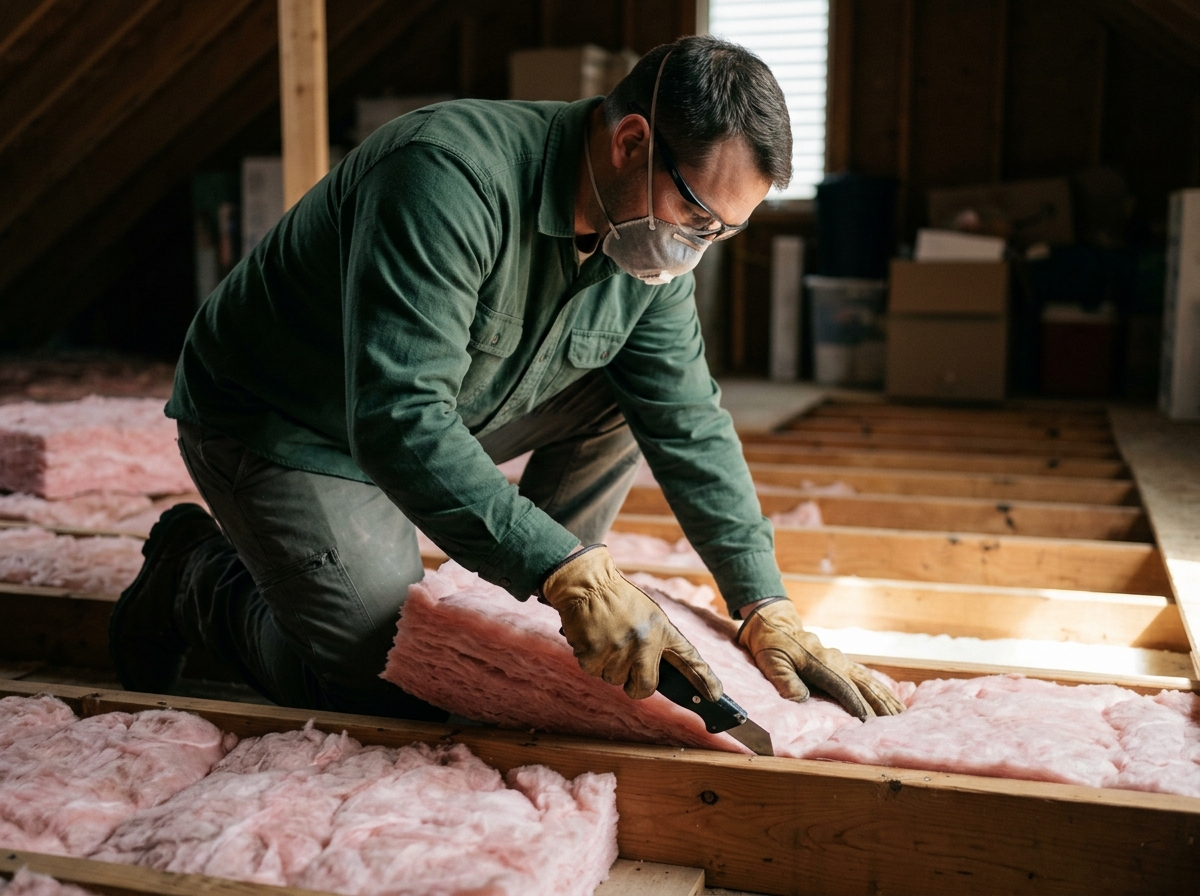
Once you’ve got your measurements, a tape measure only gets you so far. You still have to cut the stuff. Specialized insulation knives, from long serrated blades to small hook cutters, let installers trim batts and rolls so they fit tight attic spaces without leaving gaps along the edges. A dull utility knife tears fiberglass and compresses the batt as you saw through it. That compression matters more than people think, because squeezed insulation loses loft, and loft is what gives it R-value in the first place.
The real test of these tools shows up around obstacles. Pipes, electrical wiring, recessed lighting boxes, and vent stacks are where attics lose the most heat, since standard batts were never shaped to wrap around them. A fitting knife lets a worker notch, slit, and tuck material snugly around these intrusions instead of leaving a gaping half-inch void. If you’re curious whether these details even move the needle on a utility bill, it helps to look at how are solar panels worth it analyses weigh efficiency upgrades against generation options before anyone adds panels to the roof.
Honestly, this is the part that separates a rushed job from a thorough one. Anyone can roll batts across open joists. Cutting clean lines around forty pipe penetrations, without compressing the material, takes patience most DIYers don’t budget for.
3. Safety Equipment Every Insulation Job Requires
Why this is not a weekend DIY project
Here’s the part most people skip over when they picture insulation work: it’s not just measuring and stapling. Fiberglass and cellulose particles get into your skin, eyes, and lungs fast, and a trip to the hardware store won’t fully protect you. Homeowners planning weekend attic projects often underestimate how much gear is actually required to do it safely.
A properly equipped crew shows up with more than a utility knife. Consider what’s actually needed for a single attic job:
- Respirators rated for fine particulates, not just a paper dust mask from the drugstore
- Heavy-duty gloves that keep fiberglass shards from embedding in your hands over hours of handling
- Sealed goggles, since loose debris in attics drifts and settles exactly where you don’t want it
- Disposable protective suits that keep irritants off skin and out of your regular clothes
- Fall protection and harnesses for working near open joists and low rafters
- Portable, bright lighting, since most attics have no safe built-in illumination
Skip any of that and you’re looking at itchy skin at best, respiratory irritation at worst. Smart homeowners also look beyond insulation day: reviewing practical energy saving tips for summer helps you get more value out of the work once it’s done. A trained team brings all this equipment with them, which means you never have to buy it, store it, or touch the material yourself.
4. Thermal Imaging Cameras and Energy Audit Equipment
How audit findings guide every recommendation that follows
A thermal camera doesn’t lie. Point one at an exterior wall on a cold night and it’ll show you the cold streaks running along studs, the dark blotch where attic insulation has settled and thinned, the faint outline of a window frame leaking heat around its casing. None of that is visible to the naked eye. You can stand in a room and feel a draft without ever knowing where it’s actually coming from, and that’s exactly the gap this equipment closes.
Blower door testing takes a different approach. A calibrated fan mounted in an exterior doorway pressurizes or depressurizes the house, and the pressure change tells technicians how much air is slipping in and out through every crack, gap, and seam combined. It’s a single number — often expressed in air changes per hour — that sums up the entire building’s leakiness in a way no visual inspection could.
Together, these two tools turn guesswork into data. A homeowner might assume their drafty bedroom needs new windows, when the camera and blower door reveal the real culprit is a gap behind the baseboard three feet away. That’s the kind of finding that changes the whole plan, and it’s why serious evaluations lean on instruments, not hunches.
This equipment is the backbone of a personalized energy audit
Strip away the fancy name and an energy audit is really just measurement plus judgment. The thermal camera and blower door supply the measurement; an experienced technician supplies the judgment, reading the images and numbers against what’s typical for a house of that age and construction. A 1960s cape with original windows will show a different heat signature than a 1990s colonial, and knowing what’s normal versus alarming takes practice.
This is also where the audit earns its keep financially. Random upgrades — a new water heater here, some caulk there — might help a little, but they’re shots in the dark compared to a plan built on actual data. Homeowners weighing bigger decisions, like whether rooftop solar makes sense for their load, benefit from starting here too; a solar panel installation nj guide is useful reading, but reducing demand first through sealing and insulation makes any future solar investment smaller and more efficient. Same logic applies to anyone eyeing a new HVAC system: cutting the load before replacing equipment means a right-sized unit instead of an oversized one.
Technicians also use the audit to flag issues outside their own scope. If the blower door test points to significant leakage around an aging furnace enclosure, for example, that’s a conversation for an HVAC contractor, not an insulation crew — and a good auditor will say so plainly instead of guessing.
An audit identifies whether attic insulation, air sealing, or both are the real fix needed, before any material is purchased
Here’s the part homeowners usually find surprising: insulation isn’t always the answer. Sometimes the attic has plenty of material, but air is bypassing it entirely through gaps around recessed lighting, plumbing stacks, or the attic hatch itself. In that case, no amount of added insulation fixes the problem — you need air sealing first, then insulation on top, in that order. The audit is what tells you which situation you’re actually in.
Other times the camera shows uniform, severe heat loss across the whole attic floor — a sign that insulation depth is simply inadequate, full stop. And plenty of houses need both: sealing to stop the air movement, then fresh material to restore R-value. Guessing wrong means paying twice. That’s the whole point of running the numbers before buying a single bag of insulation.
It’s worth saying plainly: an energy audit measures comfort and efficiency, not structural condition, so it’s not a substitute for a licensed home inspection during a real estate transaction. Those are different documents for different purposes. One tells you if the house leaks energy; the other tells you if the roof leaks water. Don’t mix them up, and don’t let anyone tell you one covers for the other.
5. Insulation Blowing Machines vs. Batt Installation Tools
Attics tend to be the deciding factor between these two tool types, and the shape of the space usually makes the choice for you. A blowing machine breaks up loose-fill cellulose or fiberglass and pushes it through a hose, filling every nook around joists, wiring, and odd framing angles without much manual fitting. Batt tools are simpler: knives, tackers, and compression tools made for fitting pre-cut rolls or panels between studs and joists. Batts are cheaper to buy and easier to learn on. But they leave gaps fast if a piece is cut a half-inch short, and attics are full of spots that aren’t square.
Here’s a quick side-by-side on how the two approaches actually perform in real attic jobs.
| Tool Type | Material Used | Coverage Speed | Gap Risk | Best Fit |
|---|---|---|---|---|
| Blowing machine | Loose-fill cellulose or fiberglass | Fast — 1,500+ sq ft per hour with a two-person crew | Low, fills irregular spaces | Open attics, uneven joist bays |
| Batt installation tools | Fiberglass or mineral wool rolls/panels | Slower, manual cutting and fitting | Higher if cuts aren’t precise | Simple rectangular bays, small repairs |
| Hand-fed hopper blower | Loose-fill cellulose | Moderate, good for tight access attics | Low to moderate | Small or low-clearance attics |
| Batt compression tool | Fiberglass batts | Slow, one bay at a time | Moderate | Touch-up work around existing batts |
Neither of these tools belongs in a basement or inside a finished wall cavity. Loose-fill blowing needs an open cavity or a contained attic space to settle correctly, and batts stuffed into closed wall sections tend to compress unevenly, which kills their R-value over time. That’s a different job with different equipment entirely. For attic work specifically, proper caulking around penetrations before any insulation goes down makes a real difference in how well either material performs. Skip that step and you’re just burying the leak, not fixing it.
6. Air Sealing Tools: Caulking Guns and Weatherstripping Kits
A caulking gun and a roll of weatherstripping cost less than a dinner out, yet together they close some of the biggest gaps in a home’s defenses. Caulking guns seal fixed cracks — around window and door frames, where pipes or wires enter a wall, behind baseboards, near outlets. Weatherstripping kits handle the parts that actually move: a swinging door, a window sash you lift every summer. Both tools go after conditioned air loss through the building envelope, the same problem duct sealing addresses inside the ductwork, just fought here at the walls and openings instead.
Caulking vs. weatherstripping: when each one applies
Mixing these up is a common, honest mistake. Caulk a door that swings daily and it cracks within months. Weatherstrip a stationary window frame and you’ll miss the hairline gaps caulk is built to fill. The table below keeps the decision simple.
| Tool | Best for | Typical material | Lifespan |
|---|---|---|---|
| Caulking gun | Fixed gaps: frames, baseboards, outlets | Silicone or acrylic latex caulk | 5–10 years |
| Rope caulk | Temporary seasonal window seals | Putty-based rope | 1 season |
| Door sweep kit | Gap under exterior doors | Vinyl or brush strip | 3–5 years |
| V-strip weatherstripping | Window sashes, door jambs | Self-adhesive vinyl or metal | 5–7 years |
| Foam tape weatherstripping | Uneven gaps on older frames | Compressible foam | 2–4 years |
None of this is glamorous work, and that’s kind of the point — it’s cheap, quick, and it actually moves the needle on a utility bill. For the fixtures where water efficiency matters as much as air, many homeowners tackle both at once, and showerhead and aerator replacement often gets bundled into the same weekend of small upgrades. Before buying anything, though, it helps to understand how much air actually escapes through gaps versus other paths; learning proven approaches to sealing and insulating a home gives you a framework for prioritizing which rooms need attention first. These fixes pair naturally with attic insulation, since sealed walls and openings keep conditioned air from both leaking out below and escaping up top.
7. Tools That Belong to a Licensed Trade, Not a Toolbox
Some equipment just isn’t meant for a weekend project. It needs a license, insurance, and years of training behind it. Knowing where that line sits keeps you safe and keeps you from wasting money on gear you’ll use once.
Matching the tool to the right professional
A few categories of equipment come up often enough in insulation conversations that homeowners assume they’re DIY-friendly. They’re not. Here’s where the line actually falls:
- Spray foam rigs require heated hoses, precise chemical ratios, and respiratory protection, which is why foam installation stays with trained contractors rather than rental-counter equipment.
- Duct sealing equipment, including pressure testers and mastic application tools, belongs to HVAC technicians who can diagnose airflow problems before sealing anything shut.
- Electrical panel tools and anything touching circuits or wiring require a licensed electrician — this is not a place to improvise with a multimeter you bought online.
- Radon fans and mitigation systems need a certified radon specialist, since improper venting can make a hazardous gas situation worse instead of better.
- Wall cavity drill-and-fill equipment and crawl space encapsulation tools are specialized trades of their own, often requiring separate licensing from standard attic insulation work.
- Window replacement and roofing tools fall outside insulation work entirely, even though a leaky roof or drafty window directly affects how well insulation performs.
The honest truth: owning a tool doesn’t make you qualified to use it. If a job calls for one of these, that’s your cue to call a specialist, not order equipment overnight. For smaller fixes around the house — loose trim, a sticking door, a drafty threshold — covering light home repair yourself is reasonable. Anything involving gas lines, electrical panels, or structural work isn’t a gray area. It’s a different license, full stop.
Choosing Professional Insulation Tools Over DIY Rentals
When a professional visit outperforms a rental
Rental counters will hand you a blower for the weekend, and it’ll probably run. But rental-grade blowers and cutters are built for occasional use, not daily performance. They clog more, they meter material unevenly, and they’re rarely calibrated the way contractor-grade equipment is. You end up with thin spots, wasted material, and an attic that still leaks heat come January. That gap in output is exactly why the fix matters more than the tool.
A skilled team doesn’t show up with one rental unit. They bring calibrated blowers, cutting tools, safety gear, and diagnostic equipment, all in a single visit. That combination is hard to replicate by renting one piece at a time. Reviewers often point to efficiency and a well-run job as the difference, and that’s rarely about one gadget. It’s about a crew — a genuinely skilled team — that knows how to sequence the work correctly.
Here’s the part DIYers miss: owning the right tool isn’t the same as using it right. Depth, density, and coverage all affect R-value, and getting those numbers wrong wastes money. A professional energy audit, including the kind detailed in our services, exists to catch that gap before material goes down. For income-eligible households, the NJ Comfort Partners Program covers qualifying attic insulation and related work at no cost, which removes the budget excuse entirely. If you’re unsure what your home actually needs, call and schedule an audit. It’ll tell you which fixes apply, not which tools look impressive in a rental catalog.
Before calling in a licensed electrician for a panel upgrade or rewiring project, it’s worth asking what smaller fixes might ease the load in the meantime, since the job and efficiency of the work matters as much as the scope of it. A skilled team handling the electrical-adjacent details — fresh LED bulbs, a loose switch plate, a fixture that’s never worked quite right — can make a home feel noticeably better cared for without touching a single circuit. The real question is simply which parts of the problem call for a licensed specialist and which parts are everyday upkeep someone else can take off your plate today.
