


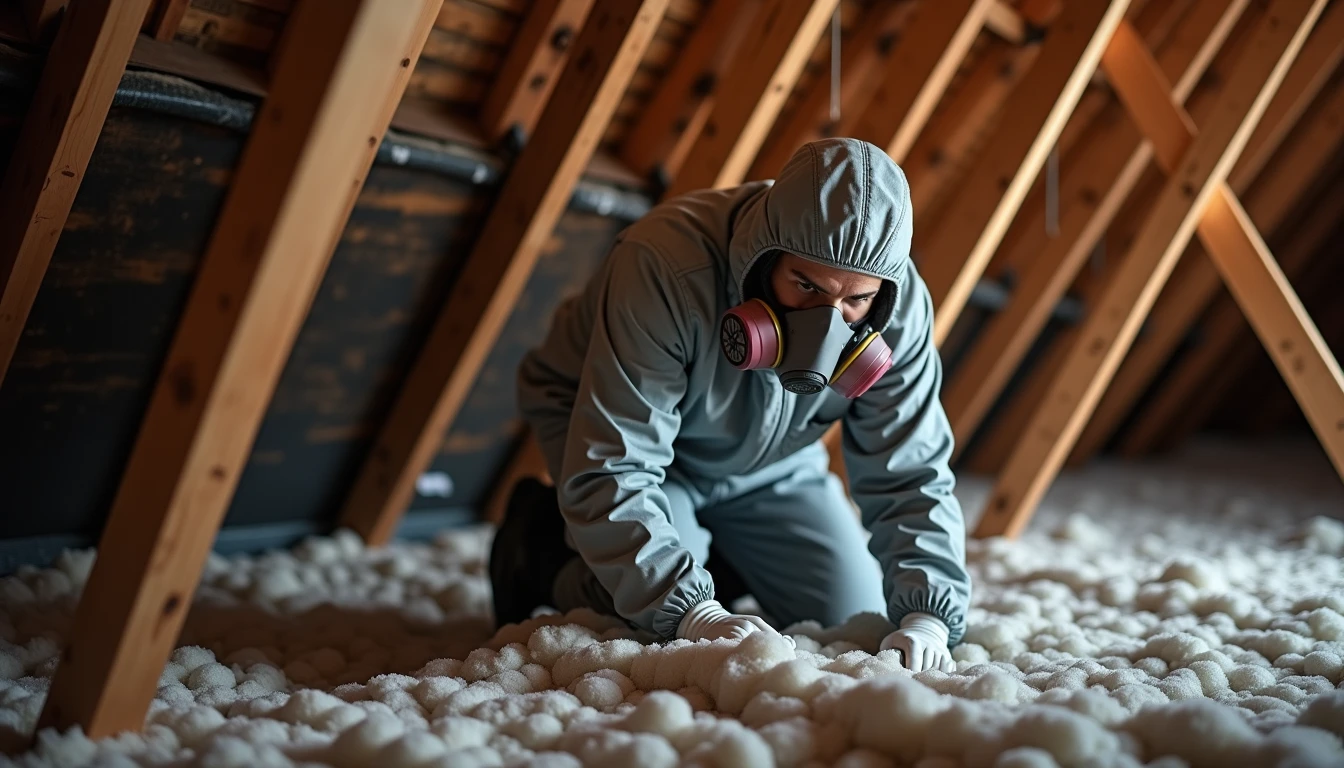
Musty odors, rodent droppings, and skyrocketing energy bills usually mean your attic’s insulation has failed you. Adding more material on top won’t fix any of that. Before your home can perform the way it should, contaminated or worn-out insulation needs to come out. That’s why attic insulation removal has become a must-do step for homeowners dealing with energy loss, pest damage, or air quality problems. This guide covers when removal is necessary, what the process looks like, and how to get your attic ready for a fresh, effective insulation upgrade.
Signs Your Attic Needs Insulation Removed
Water Damage and Mold Growth
A leaking roof or plumbing line can soak attic insulation without showing any sign downstairs. Look for dark stains on rafters, sagging insulation, or a compacted texture where fluffy fiberglass used to sit. Wet insulation loses R-value fast. Sometimes it drops by half after just one soaking event.
Mold spores thrive in damp, dark attics. Green or black patches on insulation paper, wood beams, or roof sheathing mean contamination has already spread. This isn’t something you can spray away. The insulation underneath usually needs full removal before mold can be treated safely.
Spotted stains but not sure how bad it is? It helps to read firsthand accounts from other homeowners, like this thread titled Anyone have experience removing attic insulation?, where people describe what water-damaged material actually looks like.
Rodent or Pest Infestation
Scattered droppings, shredded paper, or tunnel-like trails through insulation point to mice, squirrels, or raccoons. These pests carry bacteria and parasites, so contaminated insulation becomes a health hazard, not just an efficiency issue.
Nests built from chewed insulation fibers also block airflow and crush the material’s loft, which cuts its ability to trap heat. Finding one nest usually means more are nearby. Removal is the only reliable way to clear the contamination completely.
Declining Energy Efficiency
A persistent musty smell drifting from ceiling vents often signals trapped moisture or decaying insulation. Combine that with steadily rising heating and cooling bills, and it’s a strong clue insulation has failed. Homeowners exploring bigger efficiency upgrades sometimes ask whether are solar panels worth it, but fixing failed insulation first delivers faster, cheaper savings.
Simple fixes like caulking, weatherstripping, or LED bulb replacement help, but they can’t make up for insulation that’s lost its structure. When bills climb despite these small changes, the attic is often the real culprit.
What Attic Insulation Removal Involves
Types of Insulation That Get Removed
Blown-in cellulose is one of the most common materials pulled from older attics. Over time it settles, soaks up moisture, and loses much of its insulating value. Crews typically use an industrial vacuum system to extract it safely, following methods similar to those outlined in How to Remove Old Attic Insulation: A Step-by-Step Guide.
Fiberglass batts are another frequent target. These pink or yellow rolls can be removed by hand once they’ve become compressed, torn, or contaminated by pests. Vermiculite, a pebble-like mineral insulation used before 1990, needs extra caution. Many vermiculite products contain trace asbestos, so removal follows stricter containment rules than standard materials.
Each material behaves differently once damaged. Cellulose can mold. Batts can shred. Vermiculite can release fibers into the air. Identifying the material first shapes the entire removal plan.
Removal vs. Topping Off Existing Insulation
Not every attic needs a full removal. If existing insulation is dry, clean, and simply thin, adding a new layer on top often solves the problem. This “topping off” approach is faster and cheaper than a full teardown.
Full removal becomes necessary when insulation is wet, moldy, pest-infested, or contains vermiculite. Rodent droppings, persistent odors, or visible water stains all signal that old material must go before new insulation goes in. Adding fresh material over contaminated insulation only traps the problem underneath.
Homeowners weighing this decision should treat it as part of a bigger home performance review. Many local businesses that handle our services, including attic insulation, weatherstripping, and caulking, also check ductwork and ventilation during the same visit. That way the fix addresses root causes, not just symptoms.
DIY Attic Insulation Removal: Is It Right for You
Before grabbing a shovel and trash bags, weigh the real costs of doing this job yourself. Time, physical strain, and health risks all factor into the decision. Many homeowners underestimate how long the work actually takes. Research like Removing Attic Insulation.. How Much Time Does it Take … shows jobs often stretch beyond a single weekend.
Pros and Cons of Doing It Yourself
| Factor | DIY Approach | Professional Approach |
|---|---|---|
| Time Commitment | 8–20 hours, often spread over days | Typically finished in 4–8 hours |
| Physical Demands | Crawling, lifting, kneeling in tight spaces | Crew shares heavy lifting and hauling |
| Health Risks | Dust, fiberglass, possible mold exposure | Proper containment and respirators used |
| Equipment Needed | Rented vacuum, bags, protective suits | Industrial-grade removal equipment |
| Disposal | Homeowner arranges hauling and drop-off | Included in service, hauled by crew |
When to Call a Professional Instead
Small, contained jobs, like clearing insulation from a single closet-sized attic access area, may suit a confident DIYer with the right gear. But large or contaminated attics usually demand professional handling. Signs of pests, mold, or unknown materials mean the risk outweighs the savings.
Many local businesses that handle insulation work also assist with broader projects to improve energy efficiency, including sealing gaps and upgrading attic insulation afterward.
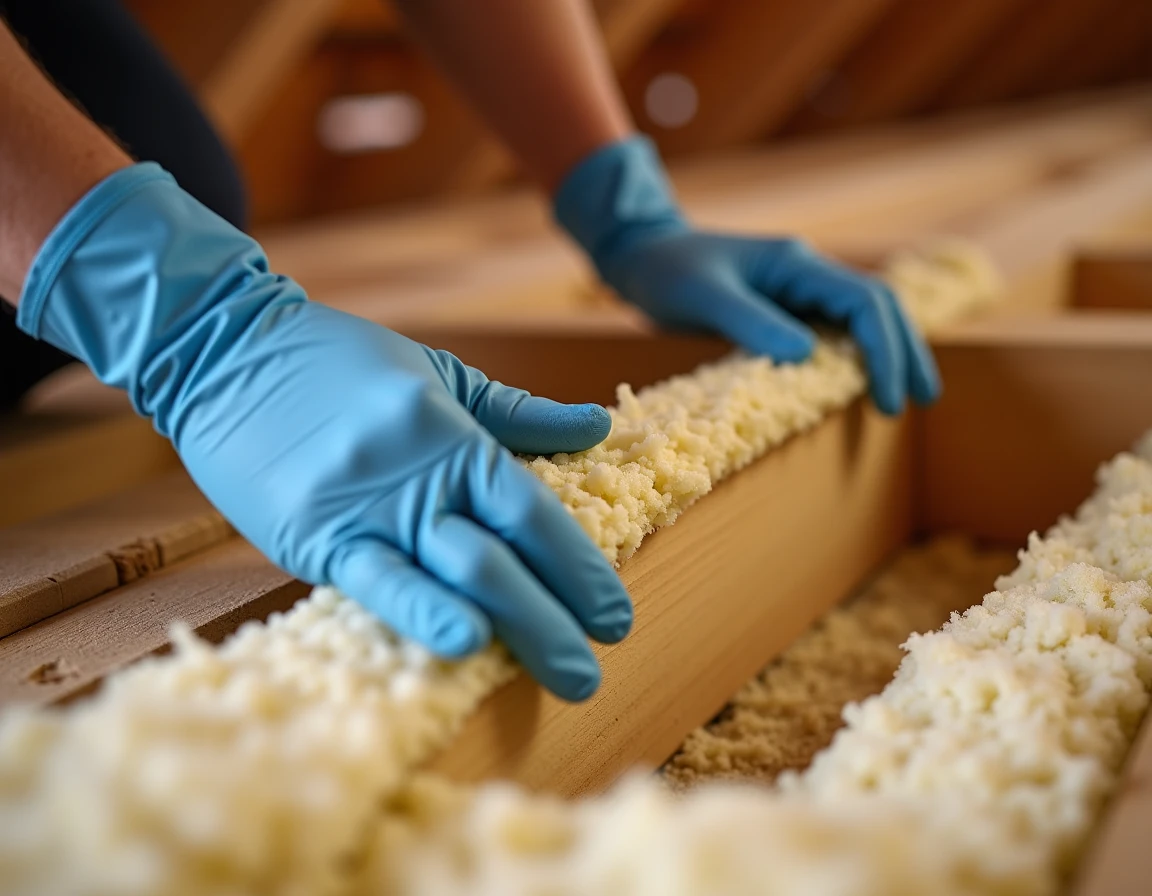
Step-by-Step DIY Removal Process
Assessing Project Size and Materials Needed
Before renting anything, measure your attic floor and note the insulation type. A small 800-square-foot attic behaves very differently than a sprawling 2,000-square-foot space. Accurate measurements prevent wasted trips to the rental counter and help you plan for enough bags and time.
Check your timeline against the season too. Reviewing energy saving tips for summer can help you decide whether removal should happen before hot weather hits.
Renting and Setting Up a Vacuum Machine
Most equipment rental centers offer insulation vacuums by the day. Compare options before booking, since hose length and bag capacity vary widely between models.
| Equipment Detail | Small Vacuum | Mid-Size Vacuum | Commercial Unit |
|---|---|---|---|
| Hose Length | 25 ft | 50 ft | 100 ft |
| Daily Rental Cost | $75–$100 | $120–$180 | $250+ |
| Bags Needed (avg attic) | 15–20 | 25–35 | 40+ |
| Best For | Under 1,000 sq ft | 1,000–1,800 sq ft | 1,800+ sq ft |
Set the vacuum outside the home, running the hose through a window or door. Seal soffit and roof vents temporarily with plastic sheeting to keep debris from escaping.
Bagging, Sealing, and Disposal
Fill bags no more than three-quarters full to avoid tearing. Seal each one tightly and stage them for pickup or landfill drop-off. Removal often reveals other issues, like gaps needing caulking or weatherstripping, so plan a follow-up walkthrough. For real budget context, see How Much Does Attic Insulation Removal Cost? (2026) before committing to a full DIY weekend.
Essential Safety Gear and Precautions
Protective Clothing and Respiratory Equipment
Old insulation traps decades of dust, mold spores, and tiny fiberglass shards. A respirator rated for fine particulates is non-negotiable. Ordinary dust masks let harmful fibers pass straight through. Full-body coverage matters just as much, since loose fibers cause itching and irritation on bare skin within minutes.
- Wear a N95 or P100-rated respirator that seals tightly around the nose and mouth.
- Choose sealed safety goggles instead of open glasses to keep drifting particles out of your eyes.
- Cover arms and legs completely with a disposable coverall or long sleeves and pants.
- Wear thick gloves that resist tearing, since fiberglass batts shed sharp splinters.
- Tape sleeves and pant cuffs shut to stop dust from working its way underneath clothing.
- Shower immediately after finishing to rinse away any lingering fibers from skin and hair.
Navigating Attic Hazards Safely
Attics hide real physical dangers beyond dust. Stepping between joists, rather than on them, can send a foot straight through the ceiling below. Poor lighting, low headroom, and exposed nails add further risk during removal work. This detailed guide, Attic Insulation Removal: How to Remove Old …, outlines additional footing precautions worth reviewing before starting.
Move slowly, test each board, and keep a flashlight within reach at all times. If the hazards feel overwhelming, learn more through our about us page about how trained crews handle these conditions safely.
Vermiculite and Asbestos: A Special Risk
How to Identify Vermiculite Insulation
Vermiculite insulation was common in homes built before 1990. It looks like small, pebble-like flakes. Colors range from gray-brown to silvery-gold. Up close, the material often has a shiny, accordion-like texture. It fills wall cavities and attic floors, usually poured loose rather than laid in batts.
Many vermiculite products sold before 1990 came from a mine in Libby, Montana. That mine had natural asbestos contamination. Homeowners can’t confirm asbestos content just by looking. If your attic has this loose, sparkly material, treat it with caution. Older homes with original insulation deserve extra scrutiny before any renovation or attic insulation project begins.
Testing and Safe Handling Requirements
Never disturb suspected vermiculite without testing first. A certified lab can analyze a small sample and confirm whether asbestos fibers are present. Disturbing contaminated material releases microscopic fibers into the air. These fibers cause serious lung disease years after exposure, so caution matters more than speed.
If tests confirm asbestos, only certified abatement contractors should remove it. They use sealed containment, negative air pressure, and specialized respirators. This differs greatly from standard insulation removal or minor light home repair work. Review a company’s privacy policy before sharing home details online. For general guidance, this community discussion answers What are tips for attic insulation removal?
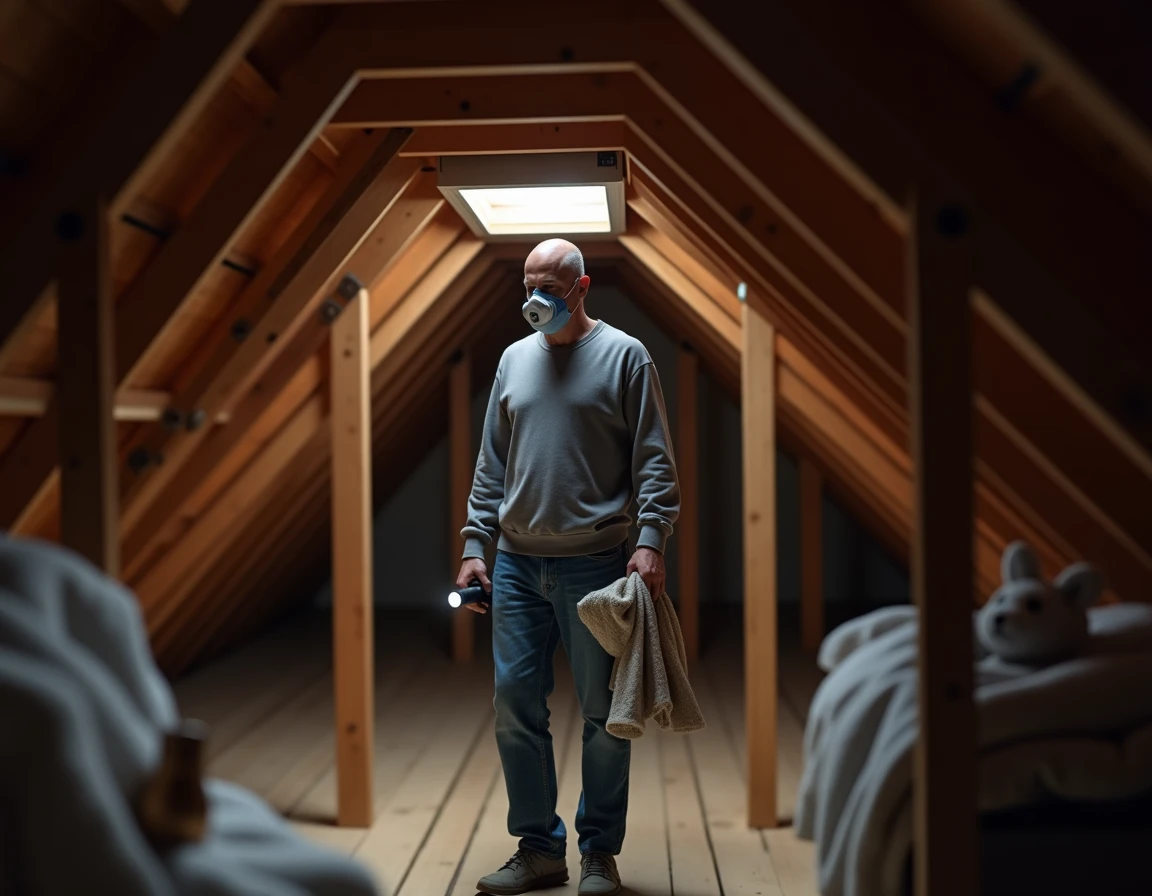
Professional Attic Insulation Removal Services
What to Expect During a Professional Job
A trained crew arrives with industrial vacuums built for heavy debris. These machines pull old insulation through large hoses, moving material far faster than any homeowner setup. Containment barriers get sealed around work areas first, keeping dust and fibers from drifting into living spaces below.
Technicians also protect flooring, HVAC returns, and light fixtures before starting. This preparation matters most when old vermiculite or rodent waste is present. Many people search for “What is the easiest way to remove blown in insulation?” online, only to discover why professional equipment outperforms rented shop vacuums.
Benefits of Hiring Trained Technicians
Beyond speed, professionals understand disposal compliance. Local regulations often dictate how contaminated insulation must be bagged, transported, and discarded. Crews already know these rules, so homeowners avoid fines or improper dumping.
Many local businesses now pair removal with air sealing, closing gaps around wiring, plumbing stacks, and attic hatches. Combining these steps stops future energy loss and pest entry. Some visits even include caulking, weatherstripping, or LED bulb swaps in nearby living spaces. For questions about scheduling or service areas, reach out through the company’s contacts page anytime.
Cost Factors and Budgeting for Removal
Price depends on three things: attic size, insulation type, and contamination level. A small attic with clean fiberglass costs far less to clear than a large space packed with rodent-soiled cellulose. Square footage drives most of the bill, but mold or pest waste can push costs higher fast.
Average Price Ranges by Project Size
The table below offers general estimates. Actual quotes vary by region and contamination severity.
| Attic Size | Insulation Type | DIY Rental Cost | Professional Cost |
|---|---|---|---|
| Small (under 800 sq ft) | Fiberglass batts | $150–$300 | $600–$1,200 |
| Medium (800–1,500 sq ft) | Loose-fill cellulose | $250–$450 | $1,200–$2,200 |
| Large (1,500+ sq ft) | Contaminated/vermiculite | Not recommended | $2,500–$5,000+ |
| Any size | Pest or mold damage present | Not recommended | Add $500–$1,500 |
Hidden Costs to Anticipate
Vacuum rental looks cheap upfront, but bags, disposal fees, and truck rental add up fast. Many local businesses also charge separately for hauling waste to approved facilities. Repairs after removal often surprise homeowners: damaged wiring, gaps needing caulking or weatherstripping, or ductwork exposed during the process. Budget extra for these fixes before starting new insulation installation. Reading a detailed blog post on real project costs can help set realistic expectations before booking any service.
Choosing New Insulation After Removal
Comparing Insulation Materials
Once old insulation is gone, homeowners face a choice. Each material offers different strengths, costs, and installation needs. A dedicated provider can walk you through samples and past jobs, and reviewing a company’s portfolio often shows real attics before and after the switch.
- Fiberglass batts or blown-in fiberglass cost less upfront and resist moisture damage better than most alternatives.
- Cellulose, made from recycled paper, packs tightly into odd corners and offers strong soundproofing benefits.
- Spray foam creates an air seal and insulation layer in one step, ideal for irregular framing or low headroom.
- Open-cell foam expands to fill gaps but costs more than fiberglass or cellulose per square foot.
- Closed-cell foam adds structural rigidity and works well in areas prone to moisture or pests.
Matching R-Value to Your Climate
R-value measures resistance to heat flow. Northeast homes typically need R-49 to R-60 in the attic, higher than warmer regions require. Attic use matters too; a storage space demands different treatment than a finished bonus room. Before installing new material, seal gaps around wiring, pipes, and the attic hatch. Caulking and weatherstripping stop drafts that would otherwise undercut even premium insulation. Many local businesses pair this air sealing step with small upgrades, like LED light bulb replacement or light home repair, during the same visit for added efficiency.
Energy Savings and Rebate Opportunities
How Insulation Impacts Utility Bills
Old, compacted insulation lets heat escape in winter and creep in during summer. Replacing it with proper materials can lower heating and cooling costs significantly. Many homeowners see double-digit percentage savings on monthly energy bills after fresh insulation is installed correctly. New insulation pays for itself over time through steady reductions in energy use.
Insulation rarely works alone. Gaps around windows and doors, drafty attic hatches, and old fixtures all waste energy too. Pairing new insulation with caulking, weatherstripping, and LED light bulb replacement creates a tighter, more efficient home. Small upgrades add up to real savings across every season.
Finding Assistance Programs and Rebates
A professional energy audit is the best starting point. Technicians inspect insulation levels, check for air leaks, and test appliances for efficiency problems. This process often uncovers issues homeowners never noticed, from failing showerhead aerators to aging equipment that qualifies for home appliance replacements. You can review examples of completed projects in this gallery to see typical results.
Cost shouldn’t stop anyone from improving their home. Income-eligible programs can cover insulation, air sealing, and related services at no cost. These programs often include light home repair and safety checks, such as gas leak repair, alongside insulation work. Ask your local energy provider about current eligibility rules and application steps before scheduling work.
If your attic insulation has seen better days, the team at NECINJ (Northeast Energy Conservation, Inc.) can help you handle the removal and replacement process safely and efficiently, backed by their expertise in energy audits and insulation services. They even participate in the New Jersey Comfort Partners Program, offering free services to income-eligible customers, so cost doesn’t have to stand between you and a healthier, more energy-efficient home. Stop by their site or book a visit today to see how much more comfortable your space can feel.
